How to Set Up Your Trezor Wallet via trezor.io/start
A complete, beginner-friendly guide to securing your cryptocurrency with one of the safest hardware wallets on the planet — Trezor. Learn how to use trezor.io/start for setup, security, and beyond.
Introduction: Why Hardware Wallets Matter
As digital currencies continue to evolve, so do the methods for storing them safely. While online wallets and exchanges provide convenience, they’re also vulnerable to hacking and phishing. That’s where hardware wallets like Trezor shine — offering cold storage security that keeps your private keys offline and away from prying eyes. The official setup portal, trezor.io/start, ensures that every user begins their crypto journey with verified firmware and a legitimate, tamper-proof device.
Whether you’re a crypto newcomer or a seasoned trader, understanding how to properly initialize your Trezor through this platform is crucial for long-term asset protection.
Step-by-Step: Setting Up Trezor via trezor.io/start
Let’s walk through the essential steps for getting your Trezor up and running securely:
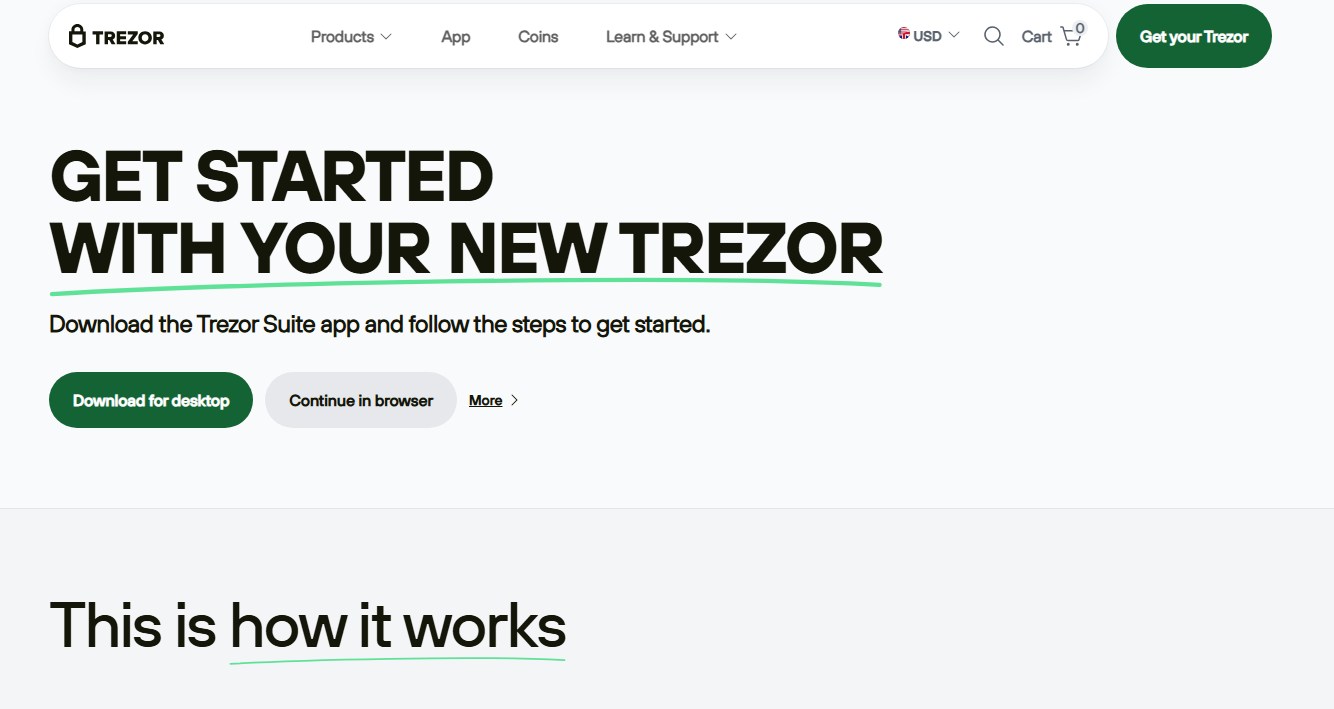
Step 1: Visit trezor.io/start
Open your browser and go to trezor.io/start. Always type the address manually instead of clicking on random links. Phishing websites mimic the real one to steal your credentials, so this habit protects you from scams.
Step 2: Choose Your Device
Trezor offers two main models: Trezor One and Trezor Model T. After connecting your device via USB, the website automatically recognizes it and provides the correct setup guide.
Step 3: Install Trezor Suite
You’ll be prompted to download Trezor Suite — a secure desktop application that acts as your interface for managing crypto assets. Once installed, follow the on-screen steps to pair your wallet and check for firmware updates.
Step 4: Create a New Wallet
Click “Create New Wallet.” Your device will generate a recovery seed — a list of 12, 18, or 24 words. Write these words down on paper (never digitally). This seed phrase is your lifeline to recover funds if your Trezor is lost or damaged.
Step 5: Set PIN and Label
Next, you’ll set a PIN code for device access. Choose something unique but memorable. You can also assign a label to your device for easy identification within Trezor Suite.
Step 6: Start Using Your Wallet
Now that your wallet is ready, you can receive, send, or exchange crypto directly through Trezor Suite. Supported currencies include Bitcoin, Ethereum, Litecoin, and hundreds of ERC-20 tokens.
Security Insights: Why Trezor Remains a Top Choice
Trezor wallets are open-source, meaning their codebase is transparent and regularly reviewed by security experts worldwide. Unlike custodial wallets that keep your keys online, Trezor’s cold storage ensures your private keys never leave the device. Even if your computer is compromised, attackers cannot access your funds without physical access to your Trezor.
“Not your keys, not your coins” — the golden rule of crypto ownership. With Trezor, you truly own your keys.
When you access trezor.io/start, you’re guaranteed a secure initialization path directly from the official Trezor servers. This eliminates the risk of counterfeit firmware or malicious intermediaries, a key concern in the world of digital assets.
Trezor vs. Other Wallets: A Quick Comparison
| Feature | Trezor | Software Wallets | Exchange Wallets |
|---|---|---|---|
| Private Key Storage | Offline (Cold Storage) | Online | Custodial |
| Security Level | High | Medium | Low to Medium |
| Control Over Funds | Full (User-Owned) | Partial | Limited |
| Ideal For | Long-Term Holders | Frequent Traders | Casual Users |
Best Practices for Trezor Users
- Always verify the URL — trezor.io/start — before setup or firmware updates.
- Store your recovery seed offline and never photograph or upload it.
- Enable passphrase protection for an extra security layer.
- Keep your firmware updated only through Trezor Suite.
- Be cautious of browser extensions or “wallet helpers” — most are scams.
FAQs About trezor.io/start & Trezor Setup
Q1: Is it safe to set up my Trezor on any computer?
A: Yes, as long as you use the official Trezor Suite downloaded from trezor.io/start. Even if your computer is infected with malware, your private keys remain secure within the hardware wallet itself.
Q2: What if I lose my recovery seed?
A: Unfortunately, if your recovery seed is lost and your device fails, you will not be able to recover your funds. Treat your seed like a treasure map — store it securely and redundantly.
Q3: Can I use multiple cryptocurrencies on one Trezor device?
A: Absolutely. Trezor supports a wide range of cryptocurrencies, all manageable within Trezor Suite. Each coin has its own account, allowing clean organization and simple switching between assets.
Q4: What’s the difference between Trezor One and Model T?
A: Model T features a color touchscreen and supports more coins natively, while Trezor One remains a cost-effective choice for essential crypto storage.
Secure Your Crypto Journey Today
Setting up your Trezor wallet via trezor.io/start is more than a technical process — it’s a commitment to personal financial sovereignty. By taking this simple step, you’re ensuring your crypto wealth stays in your hands, where it belongs.
Final Thoughts
The process of initializing your hardware wallet at trezor.io/start might seem technical at first, but once completed, it provides unmatched peace of mind. In a landscape filled with digital threats, Trezor remains a reliable fortress for your digital assets. Whether you hold Bitcoin, Ethereum, or multiple altcoins, mastering this setup empowers you to be your own bank.
Remember: security is a mindset. It starts with awareness and continues with consistent, smart practices. With Trezor, your crypto is not just stored — it’s protected for life.